
Monday, 8 December 2014
Monday, 24 November 2014
Claymation
My Claymation
A claymation is an animation made up of lots of photos that are put into a sequence to create a moving picture. Clay models are used and are moved very slightly every frame, well known claymations include Wallace and Gromit, Morph and Pingu.
 |
| Wallace and Gromit |
Before taking any photos you must consider lighting because it must stay the same during the whole scene, this means that you can't rely on natural light as it changes throughout the day. The frame size and the position of the camera has to stay the same as the animation will not be smooth.
Once you have taken all the images that you need to import them into After Effects. Make sure the composition is set to 1080HDTV 25, this is the standard for the UK. When importing the images you can import them all at the same time as a sequence. This save a lot of time however it means that all the images are in order of its number otherwise if you skip a number a blank frame will be added.
The frame rate was set a 10fps this means that is is quite jumpy. To make the animation smoother you can add more frames which increases the FPS. The standard frame rate of most claymation is 24fps, this means that for full length claymation films, such as Wallace and Gromit, it can take years to create.
Monday, 10 November 2014
Frame Animation
 |
| This is my frame animation made using Photoshop |

To make animation you must open Photoshop then click 'File' then 'New' this window will then appear. Select 'Custom" preset and change the width to 1920p and the height has to be 1080p.
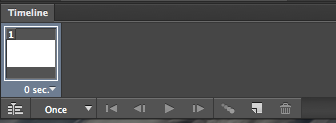


You can then add layers and draw what you want on each layer for each frame. Then select the frame and choose what layer you want to see using the little eye button. You need to do this for every frame.
To save the animation you need to go to 'File', 'Save for web' then I made the resolution smaller by changing it to 50% this is so that it can easily be upload to the web. You can preview the animation to check that it all works. Then click save and choose where you want to save it, then it will be saved as a GIF.

Monday, 6 October 2014

Monday, 29 September 2014
Keith Haring
Keith Haring
I made this animation using Adobe After Effects.
Keyframe
Key framing is setting a value to an object at a specific point in time. In After Effects, once a keyframe is set it will automatically change the value of the object between two keyframes.
Monday, 22 September 2014
Vector Graphics
Vector Graphics
Vector graphics are made up of line equations and calculations to create a graphic. They are different from bitmaps as they are more precise and take up less storage space. They are used because objects can be edited, for example change the size, shape or colour, so many graphics can be created. Also, the quality doesn't change when the images is resized.
Some examples of vector graphics:

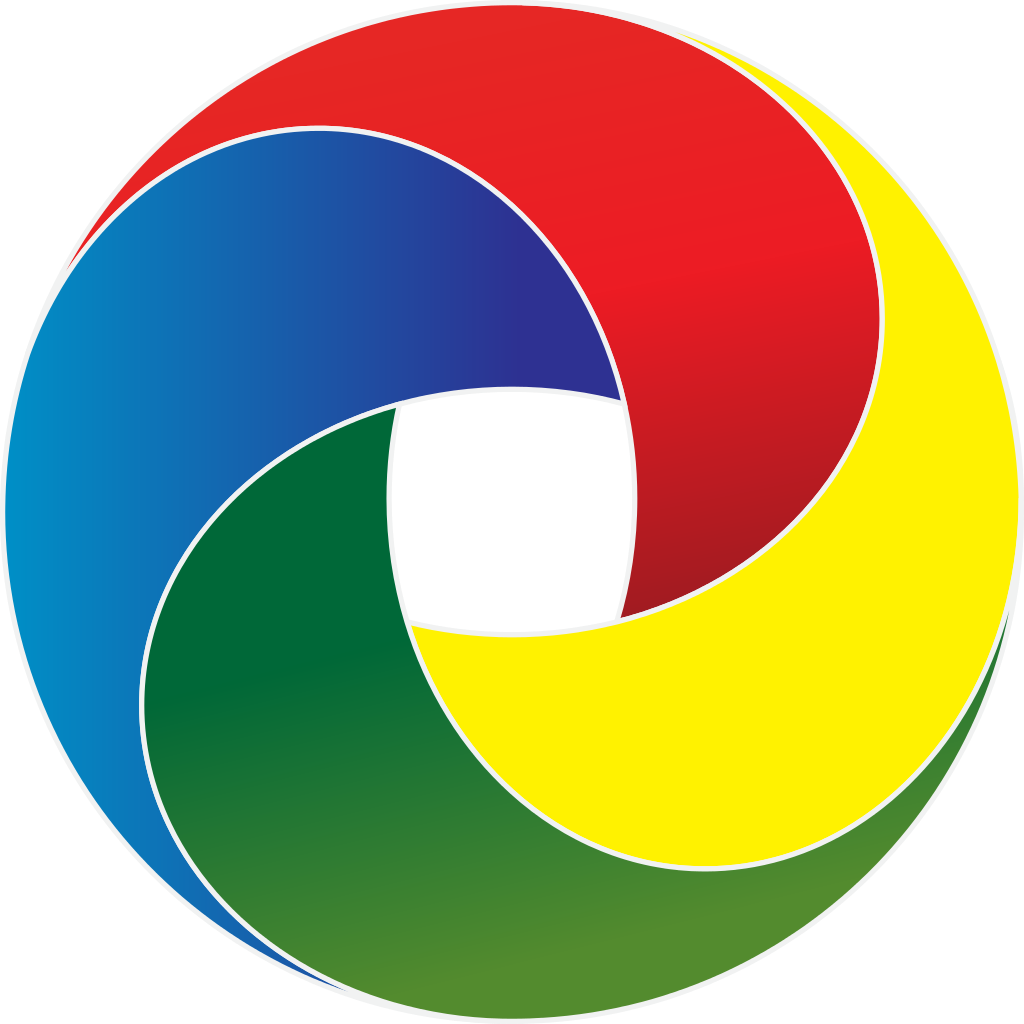
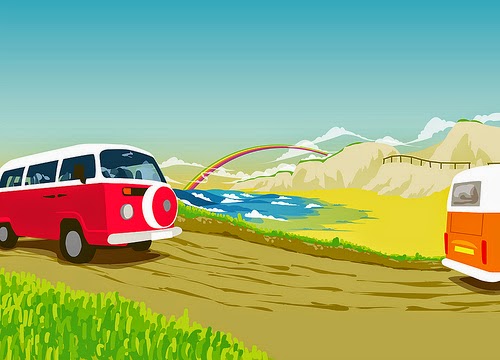
Some examples of vector graphics:
Useful tools
Direct select tool- used to select points on the
Pen tool - used to add points that join up to create a line or a shape
Shape tool- can create shapes such as circles and rectangles
Paint brush - used to draw free lines
Zoom- used to zoom in or out of your graphic
Fill Colour/Line Colour- used to change the colour of the shape or line
Vector Graphic Tutorials
http://bloomwebdesign.net/2010/09/design-a-dispicable-me-minion-in-illustrator/
http://www.digitalartsonline.co.uk/features/illustration/25-best-illustrator-tutorials/
My Final Minion made using Illustrator

Subscribe to:
Posts (Atom)